
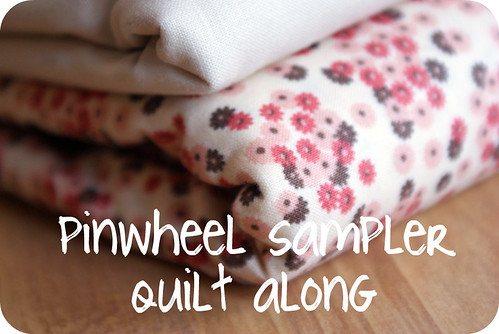
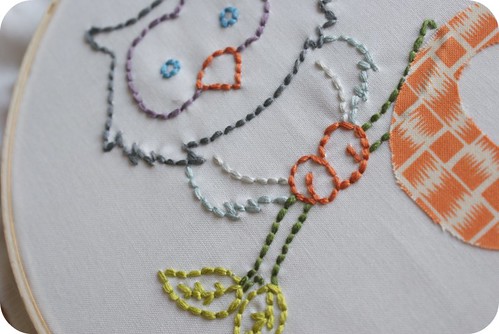
yayyy!!!
here are the instructions for block two!!!
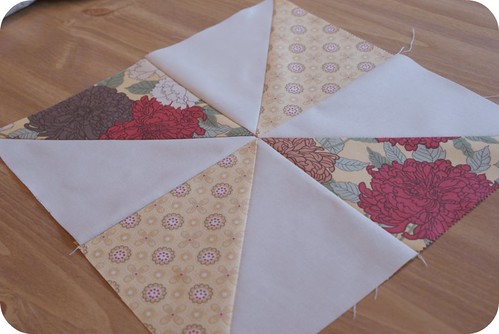
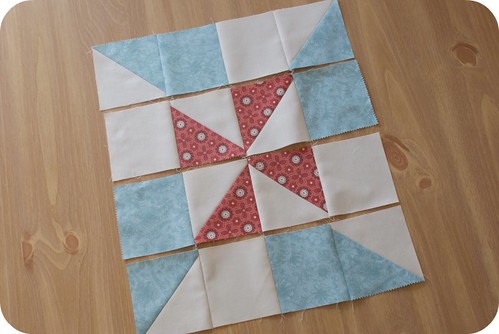
we HAD to have the pinwheel block that started it all.
:)
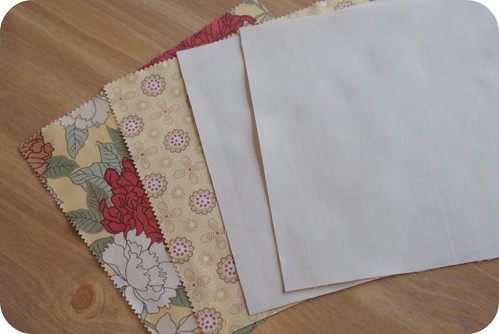
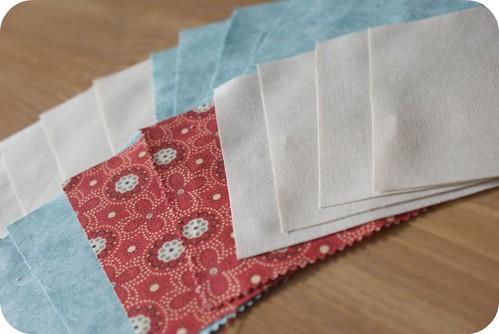
yall will need:
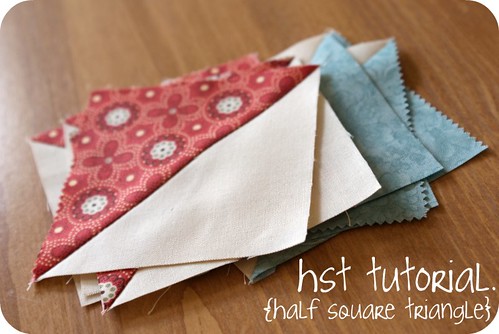
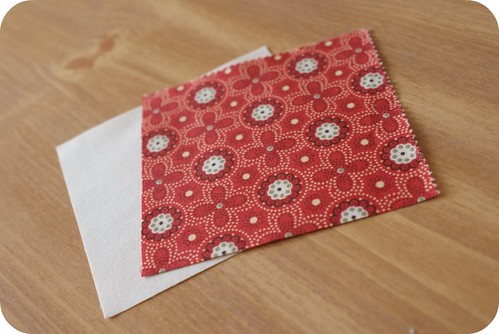
one 6 7/8" x 6 7/8" square of focal print fabric {mine=red/yellow floral}
one 6 7/8" x 6 7/8" square of secondary print fabric {mine=yellow}
two 6 7/8" x 6 7/8" squares of solid fabric {mine=cream}
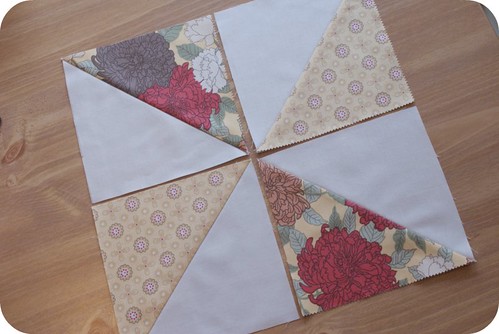
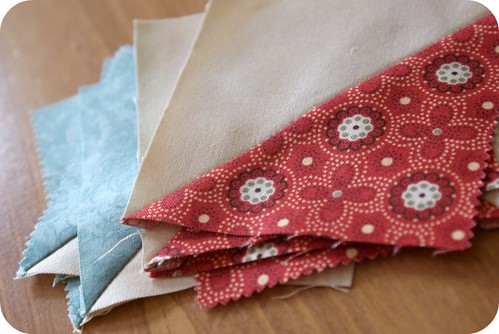
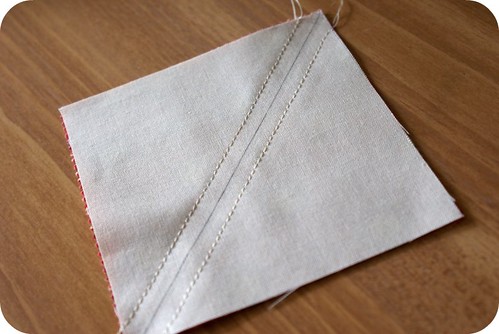
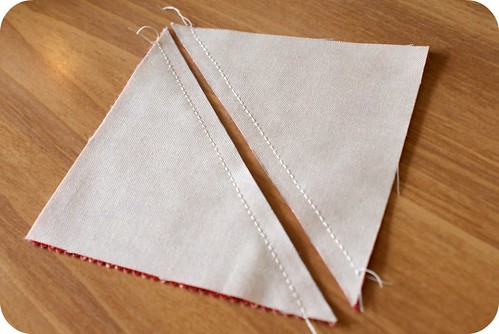
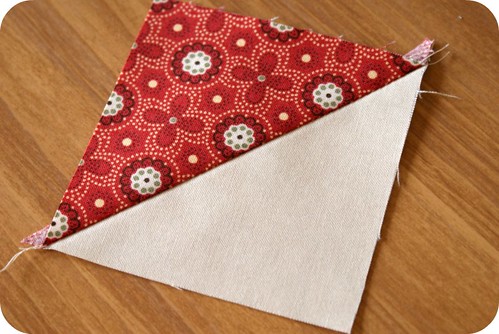
using my hst tutorial, use your 6 7/8" squares to make 4 hst blocks.
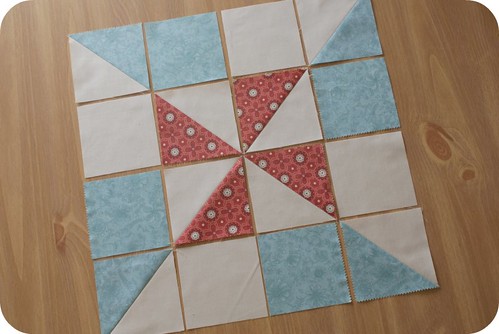
this is our block layout.
easiest pinwheel block EVER.
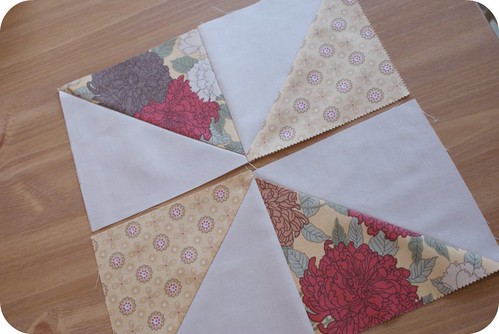
sew row one together, pressing seams to the right.
sew row two together, pressing seams to the left.
{this will ensure perfect seams.}
sew you two rows together to construct your block.
cute huh???

to tackle those pesky bulky seams...
with your block folded in half, seam rip the first 2 or 3 stitches.
{as pictured.}
do this for both sides of the fold.

your seams are open, now finger press them in opposite directions.
it'll look somewhat like a mini 4-patch block.
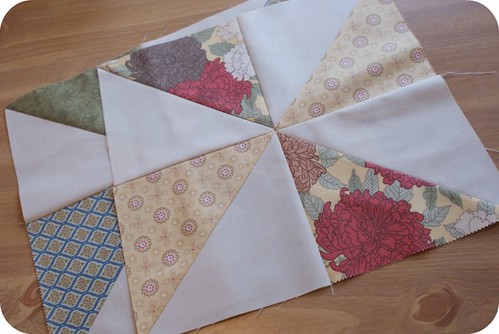
now make one more block in a completely different color scale.
my advice:
i choose fabrics that were the same hue or really coordinated well.
play with your fabric placements before you commit to cutting.
although it's a ubber simplistic block, it makes a strong statement.
so that's 4 blocks down. 12 to go.
& next week we are gonna do one of my fav pinwheel blocks.
i can't wait to start seeing all of yall's blocks show up in our flickr pool.
last weeks blocks are looking great!!!
{pdf version of this tutorial can be found here.}


