
the math part:
add 7/8" to the desired finished size of your hst block.
example: 3" finished hst block will start with 3 7/8" squares.
{to make 3 1/2" unfinished hst block.}
the making part:
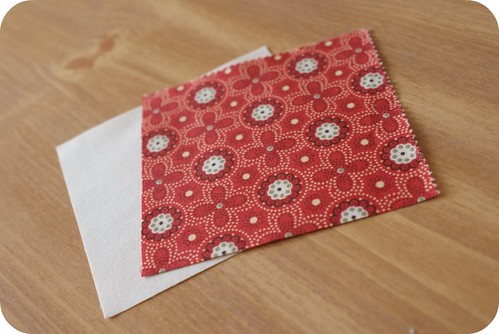
cut two squares of fabric...one light, one dark.
yall will cut these according to your desired finished hst block size.
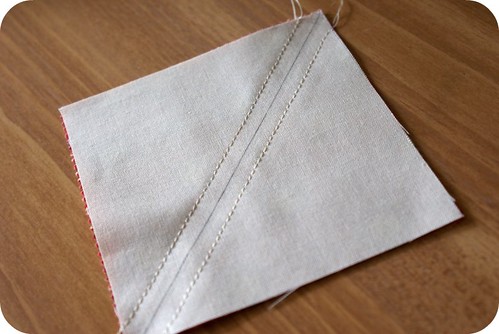
draw a line on the wrong side of your light square of fabric.
with right sides together, stitch 1/4" seam on both sides of your drawn line.
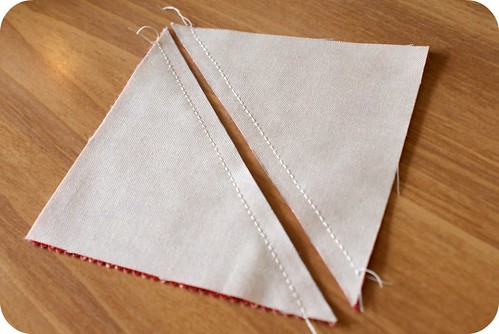
cut apart on your drawn line.
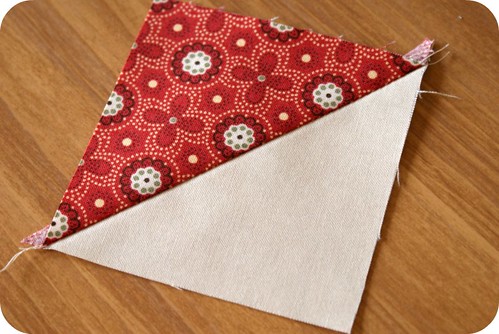
press to your darkest fabric.
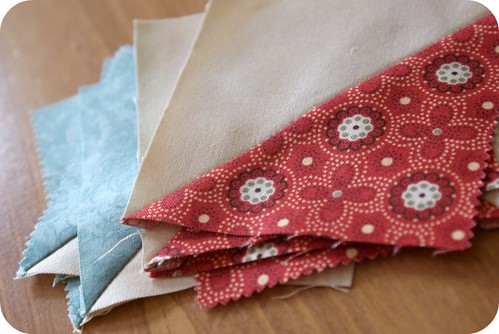
trim your dog ears and you're done.
this will give yall 2 hst blocks.
for those inquiring minds:
fabrics are simple abundance by bonnie and camille for moda.


21 comments:
super cute & easy..thanks for sharing!
do you trim those pesky "ears" off? i do, and it looks like you did on your final picture, but i'm always curious to know if i'm just being overly particular.
Great tutorial! Love the fabrics! Hope you're feeling better!
Glad to see you and your sewing machine are back together!!! Great tutorial!! I can't wait to see what else you have in store for the pinwheel quilt along.
p.s. I got your twitter about one of your kids coloring on the wall, and don't know if you saw my response but, some of that goes on here too and I found that w-d 40 works really well. Hope this helps, or maybe you already know about this amazing stuff. :)
your awesome, I think I can handle this. lol
Looking forward to see what these are going into.
great tutorial
thank u so much
Too easy! Do you have a plan for this little goodies?
Thanks for the great tutorial! Being a quilting newbie I love seeing these little helpers. Can't wait to see what you're making with these cuties.
you make it look so easy and yet when I try, they dont turn out that nice! Not only that but they get caught where the needle goes down half the time too! =)
Thank you!!!
Cool, I used to draw triangles and saw them together, but this is so much easier. Thanks.
so easy! thanks so much for this - i was nervous to try but your instructions were great!
Lisa, if you start sewing with a small piece of fabric under your needle and then add the piece you are going to sew, it helps it to not get pulled down by the needle.(you cut the threads to take this piece away after you've sewn the seam). Also, if you use the needle plate with the small hole instead of the larger one it helps to prevent the fabric from getting pushed down into the hole.
Oh, I love your blog. I just posted a quilt that my stepmom made for me on my blog. If you are interested, check it out and let me know what you think.
http://50centofyourlove.blogspot.com/2010/02/one-of-my-favorite-things.html
Love the tutorial, a simple design with so many possiblities. Makes me want to go buy some fabric today and try my hand at making something useful for our home.
Thanks!
Thank you! I've done this a lot before, but can never remember the measurement math.
Rachel I think all this are very beautiful, I think I have never seen so excellent as your fabric before.
Just found your blog. Lovely and helpful. Thanks for the great hst tutorial. Getting ready to make a set of pillows my daughter requested for Christmas...
I wish I would have seen this tutorial sooner. I saw a you-tube video showing this technique, but they failed to mention adding extra for the seams down the center. Unfortunately, I didn't think about that until I had a bunch made up. I've only been quilting for a few months, so this is all new to me. I had to cut down the rest of the squares I'd made for the block (friendship star) so that things fit together they way they should.
This is simply ingenious!!!! Thank you, you just made my day! I think I'm gonna leave all my housework for tomorrow and go and sew some HST's!
Post a Comment