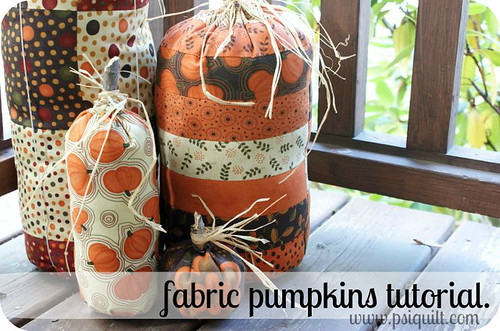
these fabric pumpkins are SO easy to make that you'll have your own pumpkin patch in no time.
materials needed:
1 fall themed layer cake {or several pieces of fall fabrics.}
perle cotton size 8
rice or dry beans
stuffing
sticks or actual pumpkin stems
raffia ribbon
hot glue gun
i'm going to show yall a few different shapes, styles and sizes of fabric pumpkins.
we'll start with basic directions for making a fabric pumpkin.
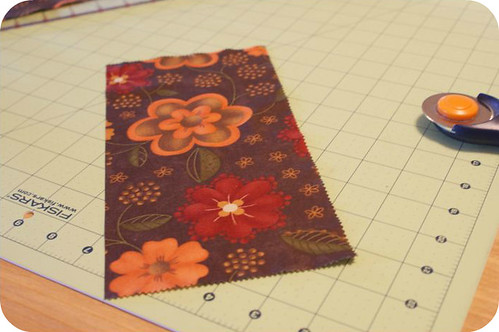
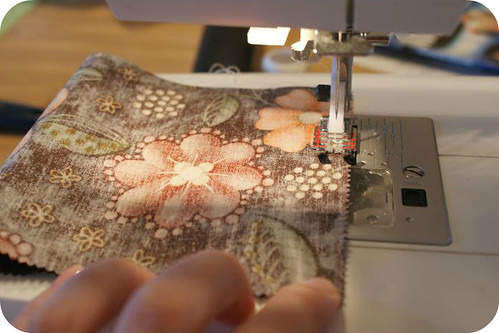
{if you are using a directional print find your top and bottom.}
take perle cotton and double it for durability.
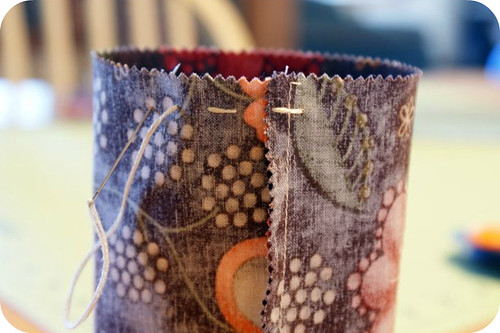
with your wrong side of fabric facing out, start stitching around the bottom of your fabric tube eyeing a 1/4" seam allowance.
it doesn't have to be perfect.
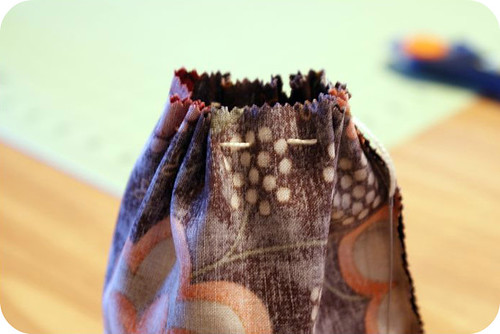
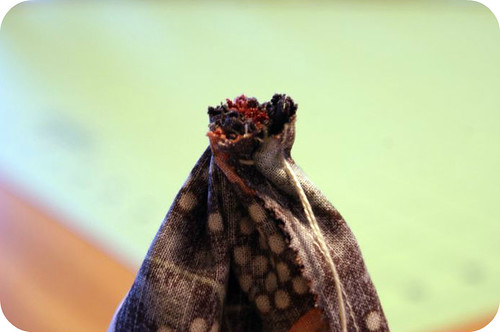
make a knot.
cut off your excess thread.
note: the reason i use perle cotton is because it's stronger than regular cotton thread.
you really want this to hold.
trust me.
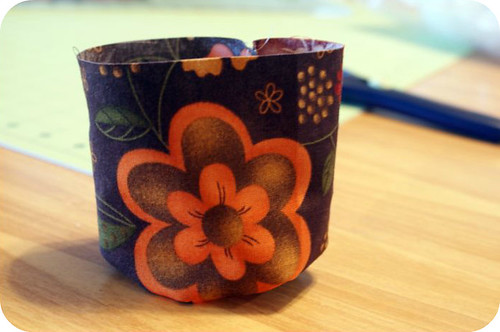
you'll have a cute little fabric bowl.
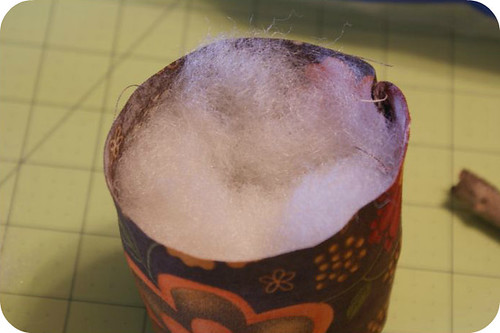
this will ensure that your pumpkin can stand on it's own.
then start adding your stuffing.
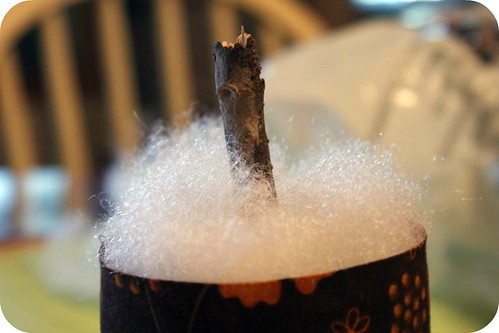
continue adding stuffing until your pumpkin starts to look a little plump.
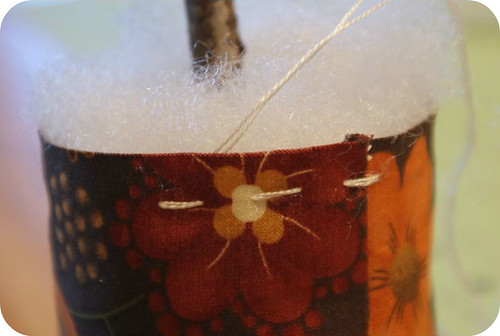
again, this does not have to be perfect.
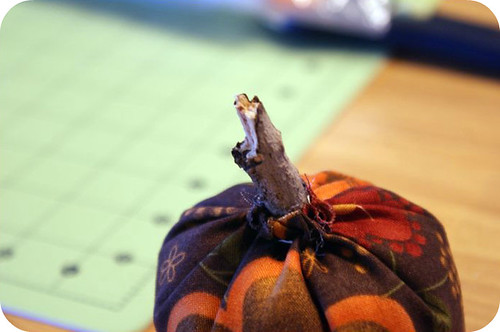
make a knot.
cut off your excess thread.
to ensure that your stick stays in place, add a dab of hot glue between the stick and the fabric.
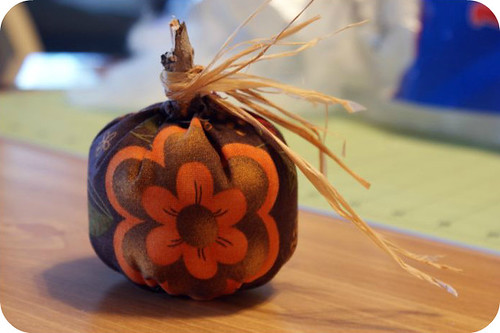
and you're done.
SUPER cute huh???
and it's easy peasy just like i promised it would be.
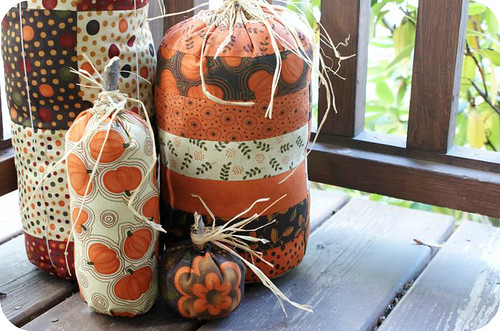
to make different shapes and sizes you need only to change your begining dimentions of fabric.
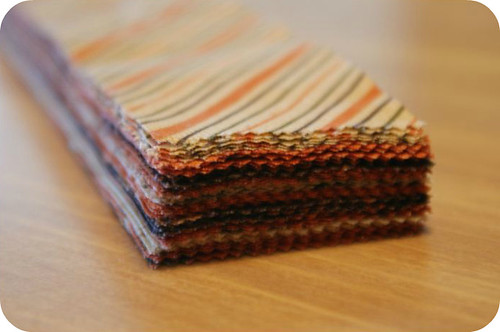
take 10 layer cake squares and cut them into 2" strips for a grand total of 50 strips.
{you'll only use 20 of these strips now, but you'll have a nice selection &/or a great start on your next striped fabric pumpkin.}
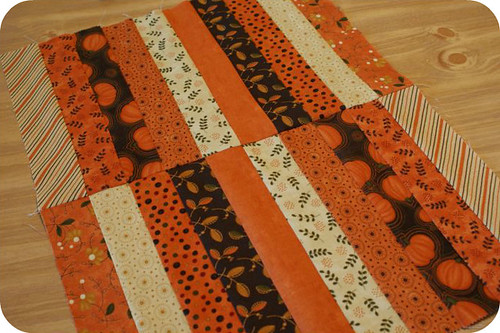
from this point, you just fold this in half and follow the above steps all over again.
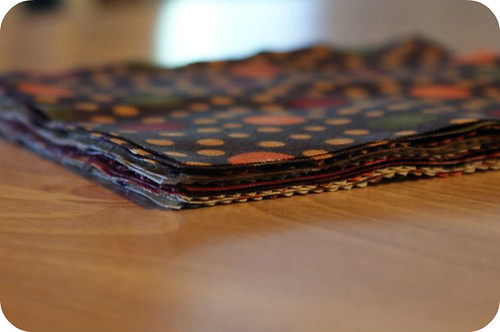
take 4 layer cake squares and cut them into 5" squares for a grand total of 16 squares.
{you could even use a charm pack if you wanted.}
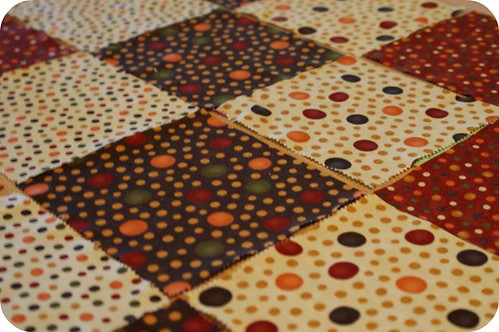
stitch together to make one big patchwork block.
from this point, you just fold this in half and follow the above steps all over again.
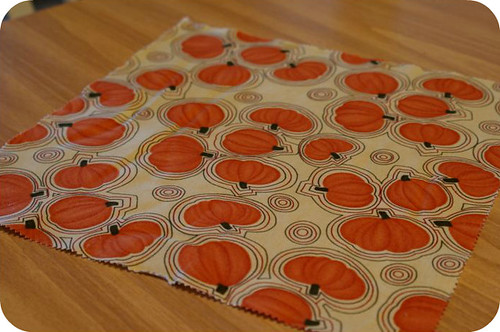
it's as simple as cutting whatever size square or rectangle you want, then folding it in half and following the above steps.
note: if you want a rounder, plumper pumpkin, you'll want to start with a rectangle shaped piece of fabric.
if you want a taller, more slender pumpkin, you'll want to start with a regular square shaped piece of fabric.
i know it's backwards, but it's how it works out.
either way, it's easy peasy, just like i promised.
rachel


16 comments:
very cute!
Cute idea! I made a few several years ago, but I didn't think to put rice or beans in the bottom. That's an even better idea!
Thank You!!! These are sew cute!!!!
These are really cute. I think I will make the stripe one.
They are really cute and I have been looking for a tutorial so Thanks. Blessing Sandra
super cute!
Oh my these are adorable!! I'm gonna have to get me some fall fabric and make some. Thanks for a great tutorial :-)
Totally cute!
Very cute! I haven't seen any like these before. Thanks! I pinned the post. :)
These are adorable. Thanks for the tutorial
Way cute! Thanks for sharing.
super cute idea
Lovely tutorial, thank you. Going to make one each with the twins :)
Love these! And you posted the tutorial early enough that I just might get them done before the 31st :-)
Hi,
Will you please post a link to your Blog at The Quilting Community? Our members will love it!
Members include: Quilters, Quilting Enthusiasts, Experts, Bees, Circles and Clubs.
It's easy to do, just cut and paste the link and it automatically links back to your website. You can also share Photos, Videos and Articles if you like.
Email me if you need any help or would like me to do it for you.
Please feel free to share as often and as much as you like.
The Quilting Community: http://www.vorts.com/quilting/
I hope you consider sharing with us.
Thank you,
James Kaufman, Editor
Rachel, your pumpkins are super fabulous! So many fabric and piecing possibilities for them. Thanks for the tut!
Post a Comment