welcome to the stitching part of the synchronized squares quilt along yall :)

grab all those squares we trimmed down last week.
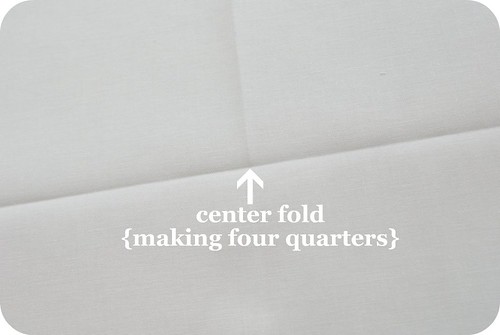
take a SOLID square & fold it in half. then in half again.
{making four quarters within your square.}
set aside.

take a PRINT square & fold it in half. then in half again.
{making four quarters within your square.}
lay your PRINT square, right side up, over your SOLID square.
make sure to match your fold lines. <--this helps your square become synchronized.

stitch your PRINT square onto your SOLID square with a 1/4" seam allowance.
after you've stitched, cut your WHOLE square in half. then in half again.
tip: layer cake squares = 10" so you're cutting in half at 5"
this yields 4 little stitched squares.
repeat this process for ALL your SOLID & PRINT squares.
this yields 144 little stitched squares.

mix all the colors & prints up into a layout that pleasing to you.
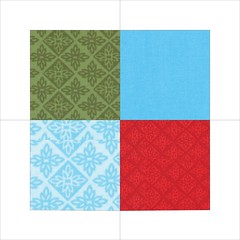
then sew 4 little stitched squares together to make 1 synchronized square.
repeat this process for ALL little stitched squares.
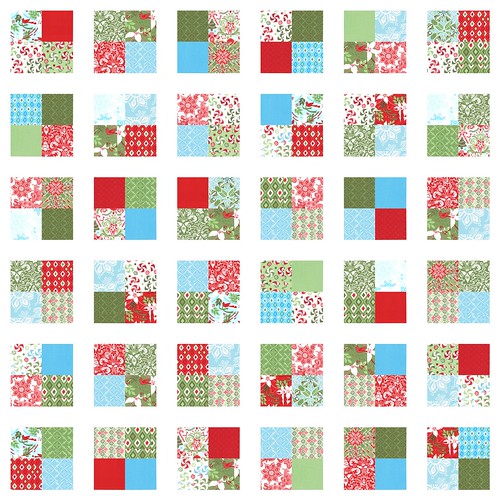
this yields 36 synchronized squares.

now take those 36 synchronized squares & lay them out in a 6x6 block layout.
stitch them together & you've got yourself a completed quilt top.
easy peasy.
now get to stitching & we'll meet back up next week.
i can't wait to start seeing yall's pics show up in the flickr pool.
fyi: the flickr pool includes a q&a section for those with lingering questions.

just a reminder:
the synchronized squares quilt along is being sponsored by fat quarter shop.
there's still time to get your two layer cakes at 20% off!!!
just enter "PSLayerCake" during checkout.
AND there will be gift certificates awarded to 3 lucky quilt along peeps.
disclaimer: you must have a completed quilt top to go into the drawing.
*tenative drawing date is june 30th*
♥ rachel


11 comments:
This is so cool! Rachel, do you come up with these ideas all by yourself? Who would ever think to put a square together in this way? Not me, that's for sure! But I love it! Now I really need to go through my stash and get moving on this. I just love it!
MGM
I will not be able to make the top until the drawing, because Im going on vacation for the next few weeks. But I certainly will do it later, looks fun :o)
Rachel do we cut away the white from behind the print or do we leave it in? meaning we will have a four fabric seam vs 2 when putting the blocks into their 4 quadrant shape...?
follow me?
RACHEL !! this is such a cool way to make blocks ; I kept trying to figure this out ..... wow ; looks like FUN !!!! AND it will be
'scruffy' ! I am excited ! thanks ! and oh , yeah ///// I live in Indiana .... we may be close .... maybe not !
I have the same question as Kelly O.
I have the same question as Kelly O. also. Plus this may seem dumb, but raw edges are exposed on the print....correct?
I'm making a vow today that I will one day join in on one of your quilt along's. As well as come back and do some of these beautiful quilts on my own time, which is lacking right now.
Looking at pictures of Rachel's finished quilt, there are raw edges on the print squares.
I imagine that having the entire solid square underneath the print, without cutting it away, adds structural integrity should the edges fray too far, so that your quilt doesn't fall apart should that happen.
o' right - so we're leaving the solid in tact.
well i do anyways. lol.
i personally like the quilt to be a little heavier.
and i'm lazy. HA.
but if you want to remove the solid, it's your quilt, not mine.
:D
On the print fabric...you don't cut the pinking side off? and where is the best place to start sewing the prints to the white fabric?
Look at that sweet girl!!! Good luck with the tooth!
Post a Comment